For Lorraine.
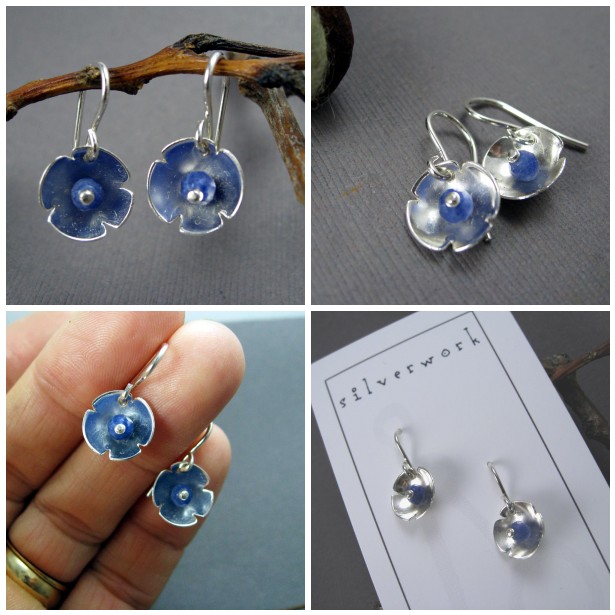
Sweet little pair of faceted lapis and sterling silver earrings.
 I am just having 'way too much fun with this copper stuff lately. Clearly I'm hooked on this material and I cannot believe how warm and cool it can appear all at once. When paired with sterling silver, the pink tones really stand out.
 With all of the winter moisture and the spring rain, the daylilies are beautiful this year. Huge, lots of scapes, gorgeous deep colors. And for my friends who have wanted divisions, this is the year! Laddie Boy after the rain and Monte feeding the sweatbees.


 The first bloom : Lavender Greeting
 I could not reisist yet another wood box to add to my fetish-y collection of wood advertising boxes. This one confirms that I do know that other stuff from Shinola.
 Everyone else gets gorgeous huge moths, butterflies or hummingbirds and sweet little flora and fauna.
  Us? We get snapping turtles. Mean ones. Big mean ones. Big ugly mean ones. With attitudes. Even the barn cats stand at the screen door in awe and fear.

 Special orders are an intimidating challenge and, as I've said before, I do not challenge myself enough so this project I took on after the customer and I exchanged emails and drawings until we came up with something I felt comfortable attempting. I've made lift-off box lids before and since she wanted this to open, it was the best and most logical choice. So here we go.
 Beginning with sheet copper, I first cut the sides 1/4" tall in one long strip in the total length and bent them to the basic box shape and I soldered the ends. This rectangle shape is filed and sanded until the 'bezel' sides are perfectly flat when laid on top of the copper sheet to become the front and back
  of the pendant.
 could fit the box on top with the solder inside the box during the soldering process. The second issue is that there must be a vent in the box so that the gas can escape - otherwise you run the risk of the box exploding. Not good.
 Another note of caution here: if you're trying to photograph your soldering process, have someone else take the photos. If you try to hold both the torch and your camera, you may burn your camera . . . like I did. With a little sanding, the lens once again retracts into the camera. And that's all I'm sayin'.
 cleaning, sanding, filing. Not exactly the fun part but it is satisfying to hold this little box in your hand and turn it as you sand and love on it.
 filed and sanded smooth, it will make a sweet fitting lid for the box.
  soldered onto the sides for the loop that will hold the chain. Everything is cleaned and sanded smooth and all file
 marks removed with the finest sandpaper. A sterling silver chain is oxidized and added to the loops through the tubing on the sides.
